Employee Travel Reimbursement Manual
Creating a Travel Expense Report in IExpenses

- When logged into Oracle, this is your list of available responsibilities
- Select RIT Reimbursement for Travel
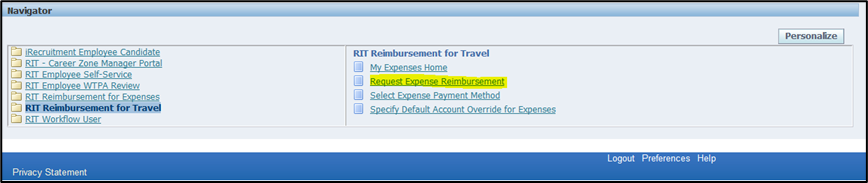
- Select – Request Expense Reimbursement
Note: To speed-up the process of entering your expense report it is helpful to have your receipts readily available
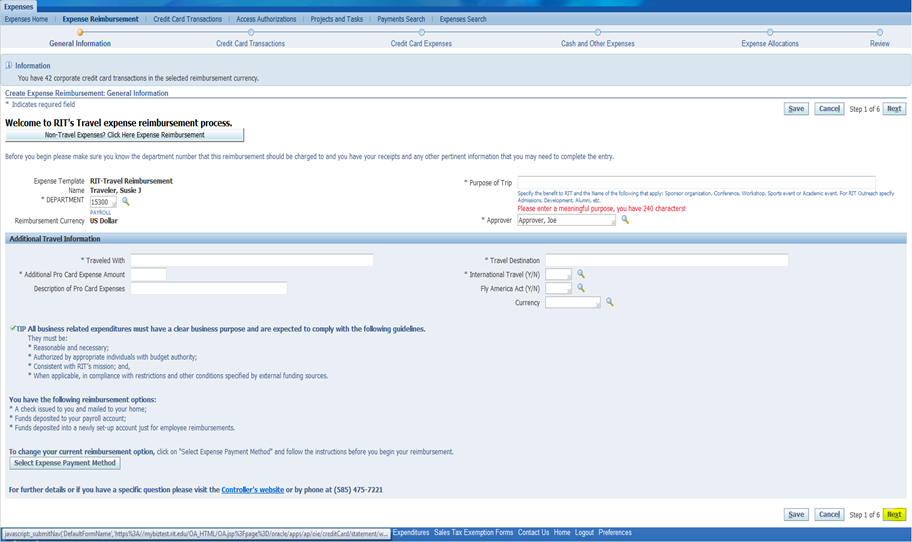
- Complete all required fields (* Indicates each required field)
- It is important to clearly state the business purpose of this trip. The field can accommodate up to 240 characters
- If you traveled alone – Indicate so in the ‘Traveled with’ field
- Enter any Pro Card Expenses associated with this trip – i.e. Registration Fees. If there are none enter zero dollars
- If you answered YES to International Travel you must also complete the Fly America Act filed and enter the currency used for the majority of this trip
- Click Next

- This screen will only be visible to those travelers that have a PNC Travel card and have charges that can be applied to their travel reimbursement.
- If all of the credit card charges can be applied to the travel expense report you are working on then ‘Select All’ or you can click on only those that apply
- Click – Next
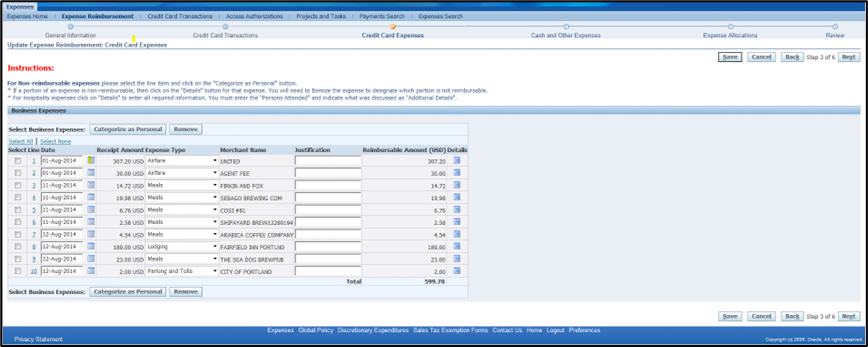
- Verify that the credit card transactions pertain to the travel expense report you are currently working on
- Since the dates are when the merchant charged the credit card - modify the dates as needed to match your receipts
- Since airline charges are usually in advance of the actual date of the trip – change the date to coincide with your departure date
- The Expense Type is based on the merchant MCC code – Please verify that the expense type is correct. If the Expense type is not correct choose the appropriate type from the pull down menu
Categorizing an Expense as Personal
- Select the Expense
- Select - Categorize as Personal
- If you chose ‘Personal’ the transaction is not available for future use
- If you chose ‘Remove’ the transactions are available for use at a future date
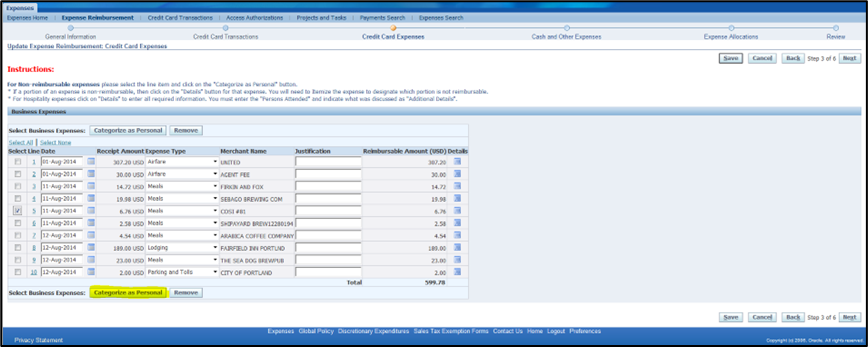
- The bottom of your page now displays the expense that is considered personal and not reimbursable

- Select –Next
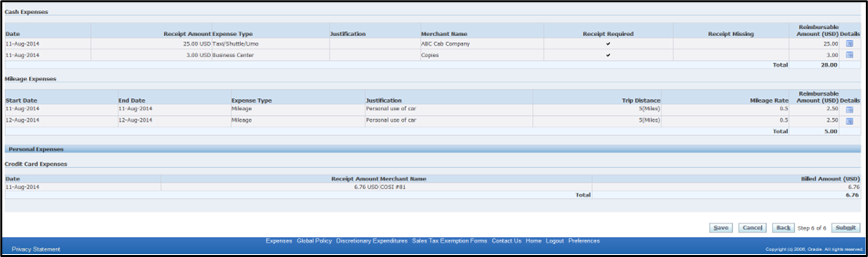
- There are 3 tabs to choose from:
- Receipt Based Expenses
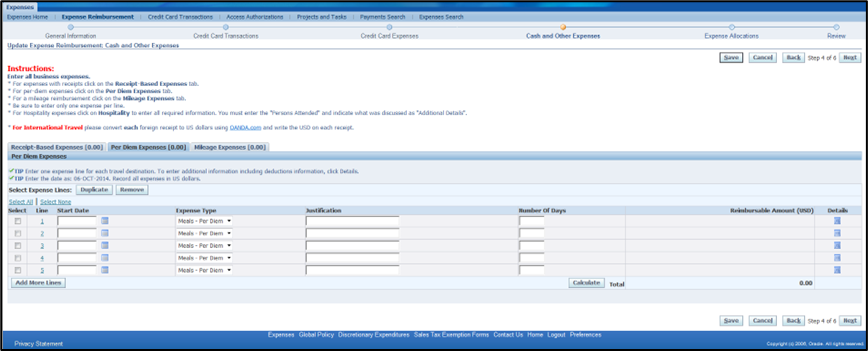
- Per Diem Expenses
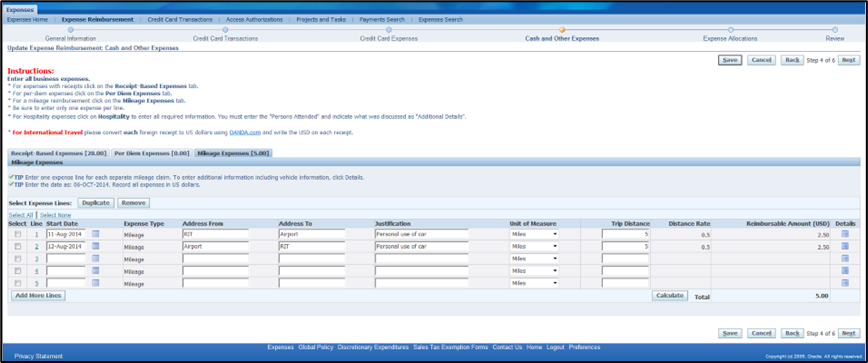
- Mileage Expenses
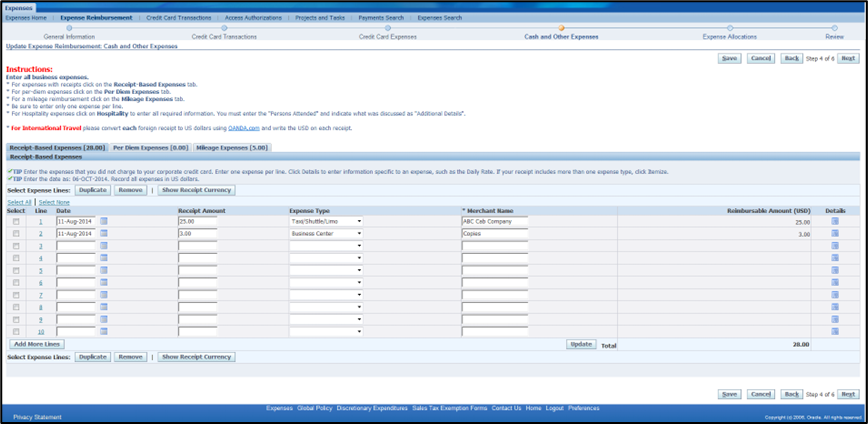

Attach Scanned Receipts

- Click - Add to attach your receipts
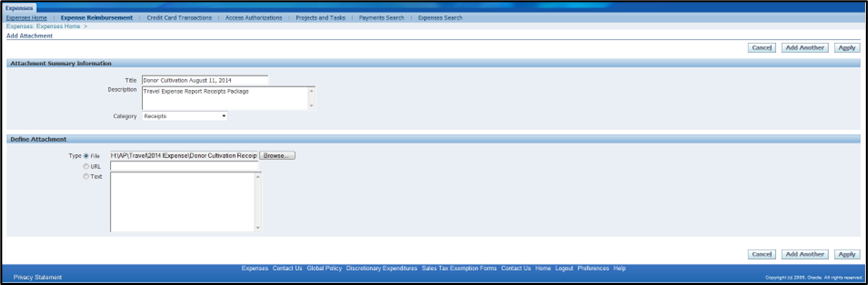
- Give your attachment a title – Anything that is meaningful to you
- Enter a description
- Click the browse button to locate your scanned copies
- Click – Open on your desktop to attach the documents
- Click Apply

- A confirmation at the top of the page confirms that the document was successfully attached

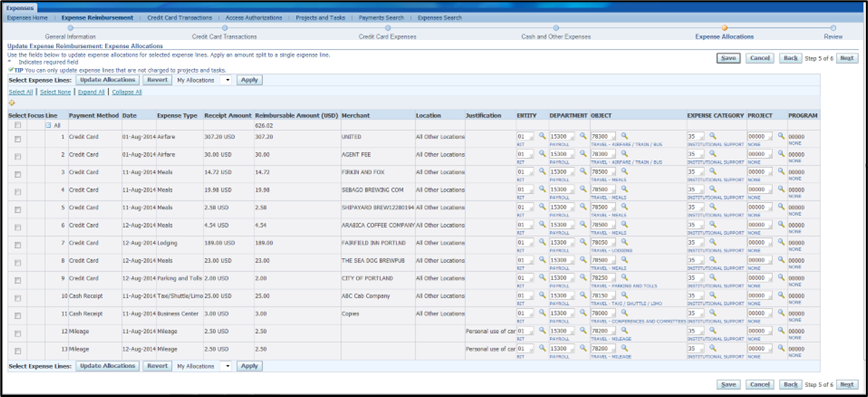
- The employees reimbursement summary, total cost of trip, pre-paid airfare and Pcard Expenses are located at the top of the summary page
- Click – submit