Leave of Absence Success Plans
A Starfish LOA Success Plan outlines steps (called To-Do’s) to help maximize your time away from RIT and position you for success upon your return. Advisors can build Starfish LOA Success Plans in partnership with you as you are planning to take a Leave of Absence from RIT. As you complete items within your plan, you can request your advisor to complete and close the items from your plan.
When an LOA success Plan has been created, it will be sent to your RIT email address. It will also be available to you anytime in your Starfish account.
Access your LOA Success Plan in Starfish
- Access Starfish
- Click the navigation menu
 in the upper left corner of the screen.
 - Once the menu opens click on Plans.
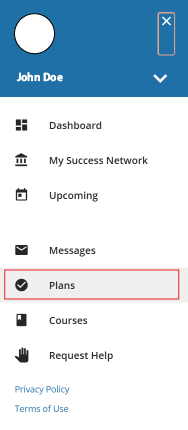
- On this screen, you can view any Success Plans created for you. Click on the View Details button in the top right corner. This will open your plan in a new window. Here you can view every To-Do assigned for you within the plan.
- To print the plan, click the Print button in the top right corner.

Request a To-Do Item to be Closed
The items in your LOA Success Plan are tasks for you to complete before returning to RIT. Once you’ve finished a task, you can mark a To-Do item as complete in your dashboard, letting an advisor know your progress toward your plan of return.
- Access Starfish
- Click the navigation menu in the upper left corner of the screen.
- Once the menu opens click on Dashboard.
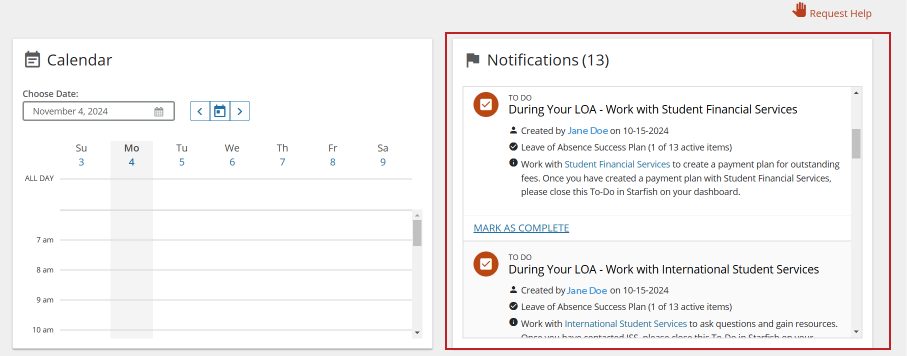
- Your To-Do items from the plan will be displayed in the Notifications section.

- If you have completed one of the To-Do items, select the Mark as Complete link.
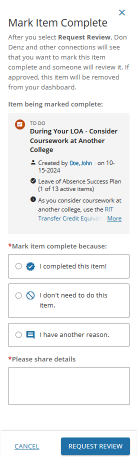
- Choose an option from the Mark Item Complete section (highlighted below)
- To-Do Items that require comments when marking as complete will be in a pending review status until the advisor has looked it over and resolved it.
- Comments help explain your progress of the assigned To-Do and should clearly explain to your advisor how you have completed the item.
- Comments help explain your progress of the assigned To-Do and should clearly explain to your advisor how you have completed the item.
- To-Do Items that require comments when marking as complete will be in a pending review status until the advisor has looked it over and resolved it.