Student Guide
Managing Appointments
Starfish is a convenient way for you to schedule appointments with your academic advisor and other people within your Success Network. In a few easy steps, you can schedule or cancel a meeting with your advisor.
Schedule an Appointment
- Access Starfish.
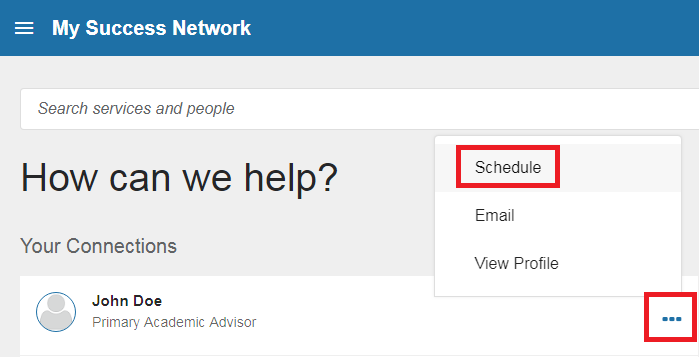
- On the My Success Network page locate your Academic Advisor.
- Click the navigation icon
 next to the name of your advisor and then select Schedule.
- If your advisor has advising walk-in hours scheduled, they will be displayed in the top right corner of the page.

- Select Academic Advising and choose a reason from the list, and click Continue.
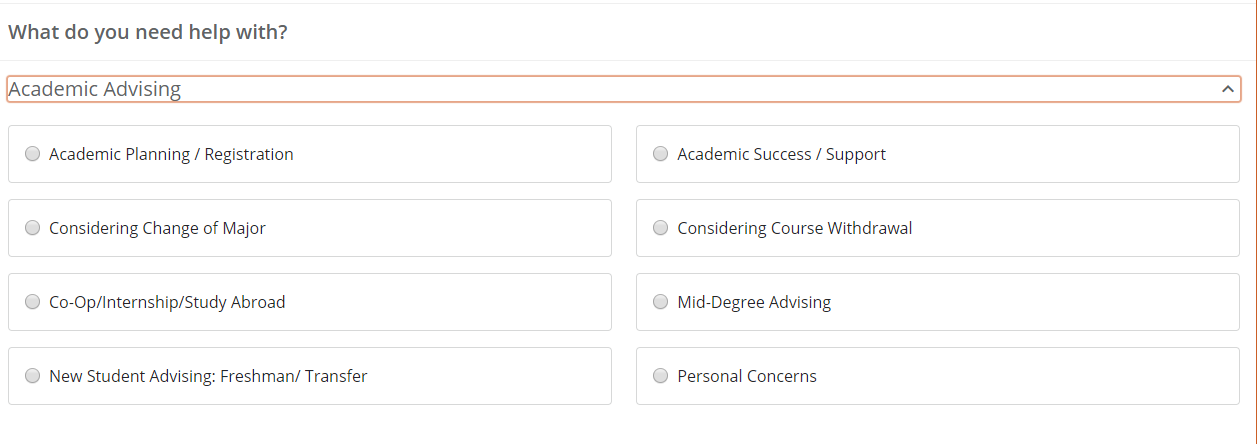
- For group sessions, your advisor/instructor will need to communicate the appointment reason to select. If you do not select the correct reason, the group session will not display for you to register.
- For group sessions, your advisor/instructor will need to communicate the appointment reason to select. If you do not select the correct reason, the group session will not display for you to register.
- On the next screen, there is a drop-down filter that allows you to select group advising sessions (if available) or individual advising sessions.
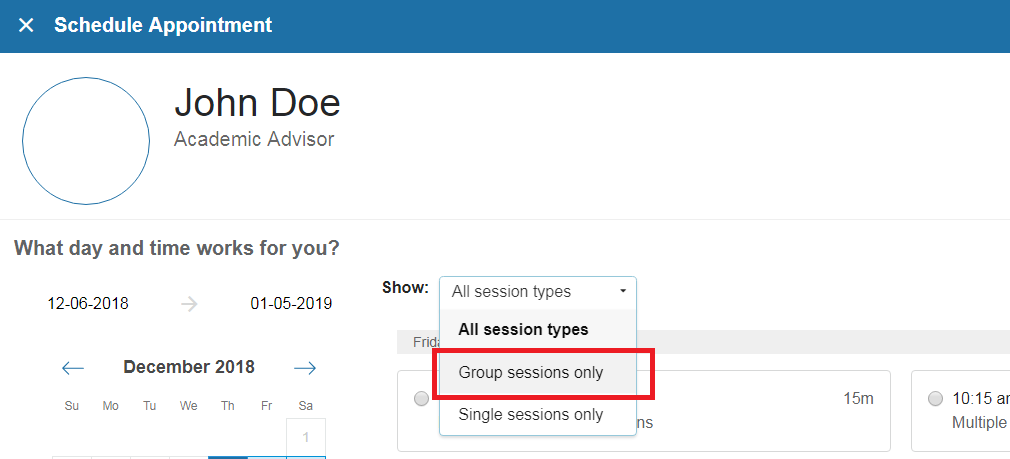
- If you are trying to find a group session, you can select "Group sessions only". If the group session does not appear, refer to step 5a.
- If you are trying to find a group session, you can select "Group sessions only". If the group session does not appear, refer to step 5a.
- Adjust the date range as needed to find days and times that work for your schedule, and then select a time from the list, and click Continue.
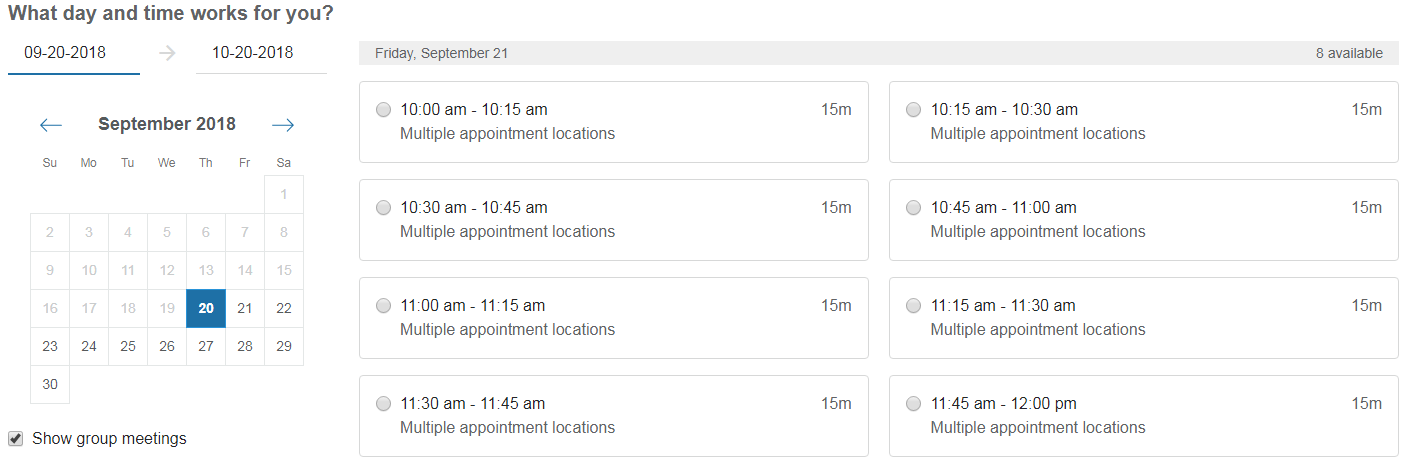
- If you selected "All session types" you can tell the appointment is a group session if it has an icon of two people beside the time.

- If you selected "All session types" you can tell the appointment is a group session if it has an icon of two people beside the time.
- On the next page, you can verify the details of your meeting and/or make adjustments to the duration, location, and reason (as needed) and add a brief description of why you want to meet.
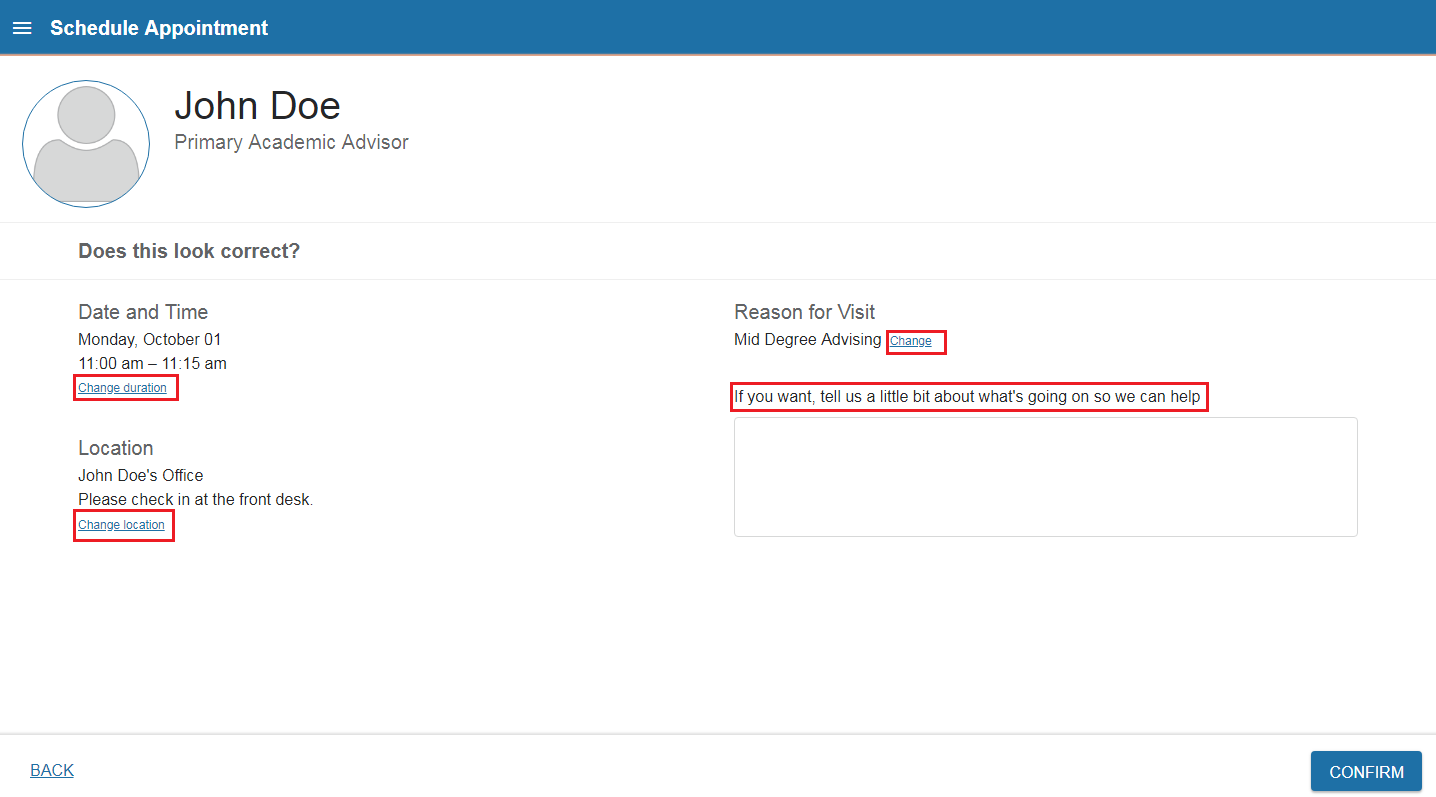
- Click Confirm to finalize your meeting.
- You will get an email with the appointment details and the appointment will be listed on the Upcoming tab.
View Upcoming Appointments
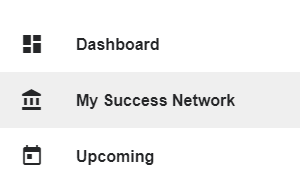
- From the Starfish My Success Network page, select the navigation menu
 in the upper left corner of the screen.
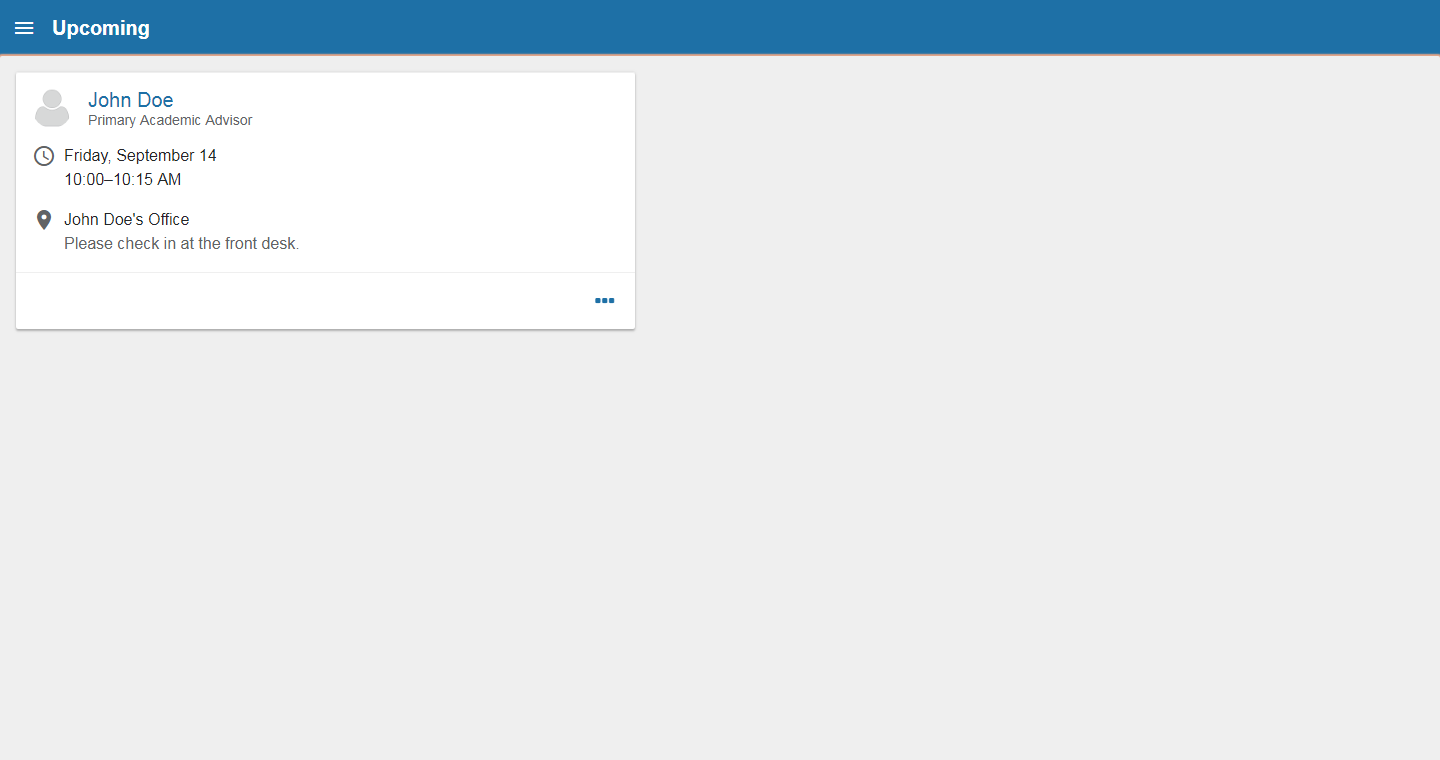
 - Then click Upcoming. On this page, you will see all your future appointments you have scheduled in Starfish.

Canceling an Appointment
- In Starfish, click the navigation menu
 in the upper left corner of the screen.
 - Click on Upcoming
- Locate the appointment you want to cancel and click on the ... at the bottom right of the box.
- A box will open; select Cancel appointment.
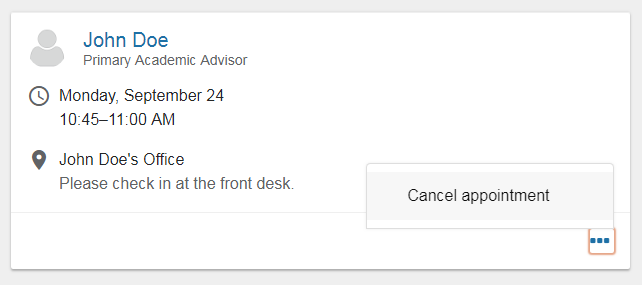
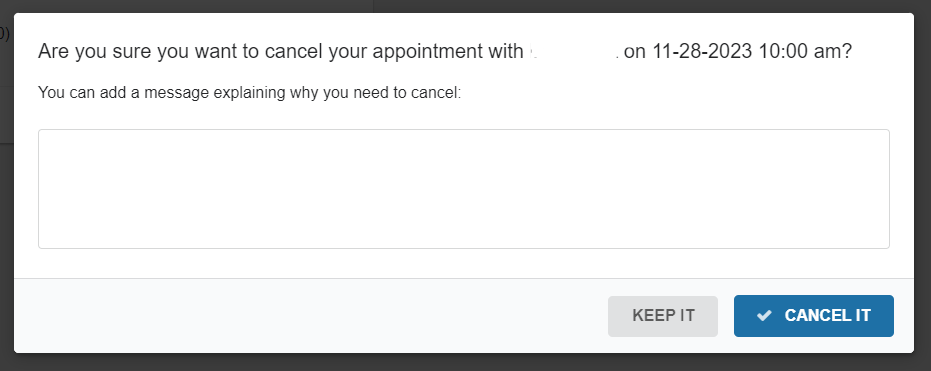
- Another window will open allowing you to send a message detailing why you are canceling the appointment. Include any information you want and press the Cancel It button.
Starfish Quick Links: