The science behind 3D-printed prostheses
A. Sue Weisler
“3D printers are basically glue guns on steroids. There is a little nozzle that squirts out a very fine stream of melted plastic and moves back and forth, back and forth, layer by layer building a full 3D-printed object,” RIT research scientist Jon Schull said.
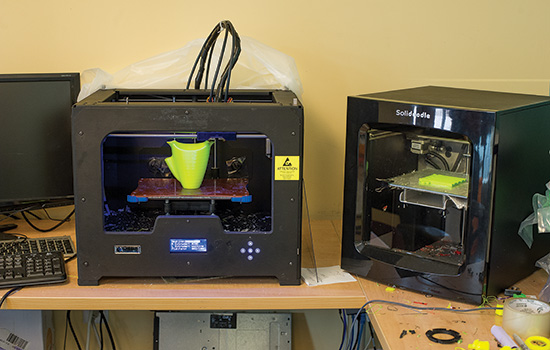
3D printing, also known as additive manufacturing, builds an object by adding material layer by layer until the printed part is finished. Printers have a frame and three axes. The X axis moves left to right, the Y axis moves front to back and the Z axis moves up and down. The extruder, which sits on the X axis, consists of a nozzle that shoots plastic at about 100 millimeters per second and a cooling fan that helps control the layer temperature. To print objects, the electronics of the printer steer the three axes so that the extruder head is at the right spot to add plastic to the printed part.
Many of the consumer 3D printers used in the RIT lab cost between $2,000 and $3,000 and include settings to change print speed, temperature, density, the number of shells and the addition of a support structure while 3D printing.
PLA and ABS are two popular types of thermoplastic filament used to create 3D-printed prosthetic devices. Students say that PLA creates a better looking but less durable print. A majority of RIT’s prostheses use PLA because it is easier to work with the temperature settings during the print. ABS creates a stronger part but has a higher melting point, so it can sometimes be very temperature sensitive during the print, causing the part to crack. ABS plastic can be dipped in acetone to create a glossy look that also makes the printed part more durable.
Before 3D printing, students use a computer-aided design program to create or modify the scale of a model prosthetic device and save it into an STL file. Many STL files with pre-made designs can be found on the e-NABLE website. CAD programs used by RIT students include Fusion 360, Inventor and Tinkercad. Using the CAD program and a 3D scanner, students can also collect and analyze digital data on the shape and appearance of a plaster mold of a patient’s hand.
Before printing a 3D model from an STL file, it must first be processed by a piece of software called a “slicer,” which converts the model into a series of thin layers and produces a G-code file containing instructions tailored to a specific printer. Several open source slicer programs exist, including Skeinforge, Slic3r, KISSlicer and Cura.
Print times vary, depending on the size of the object. The average print time for a finger is about 30 minutes. An average palm will take about nine to 10 hours to print. Creating and assembling all of the parts for an arm will take 70 to 80 hours.