Creating Physical Inventory Worksheets
Process
- Login to Oracle
- Click the responsibility ‘RIT FA Physical Inventory User’ on the navigator screen
- If not automatically sent to Oracle viewer, click on ‘Download FA Physical Inventory Data Interface’
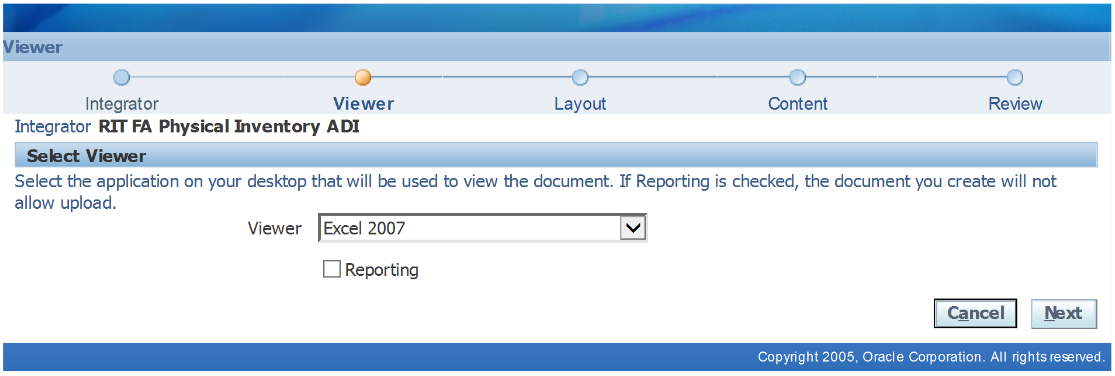
- ‘Select Viewer’ – choose your version of Excel from the drop down menu
- Leave ‘Reporting’ box unchecked
- Click ‘Next’ to content parameters page
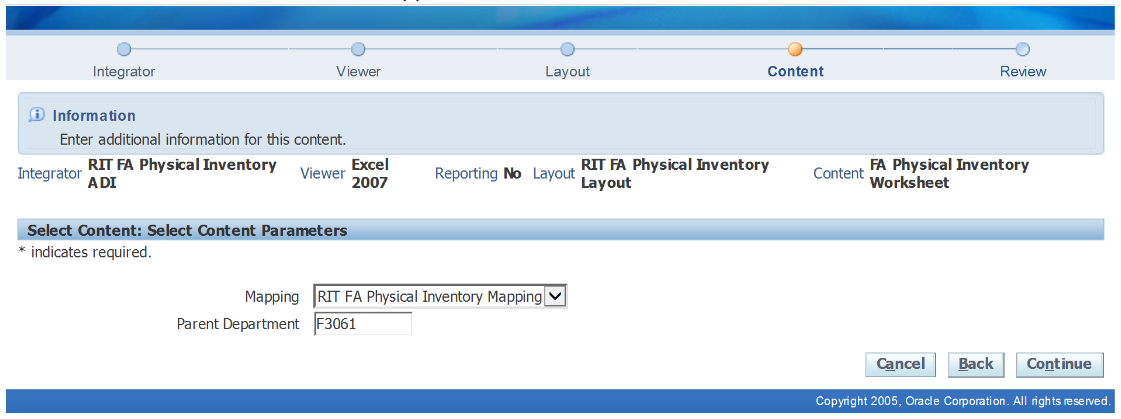
Content Parameters:
- Mapping - select ‘RIT FA Physical Inventory Mapping’ from dropdown menu
- Parent Department:
- You must use a capital letter ‘F’ when entering parent department
- Leave blank to obtain all parent departments assigned to DIR or DIR2 (based on Oracle user who is using system) or enter one parent department
- If you have more than one parent department, and field is left blank, all inventory items will be combined on one Excel worksheet
- Tip: If you are assigned more than one parent department and you prefer to give individual department groups their own Excel file to work from, enter each parent department separately
- Click 'Continue'
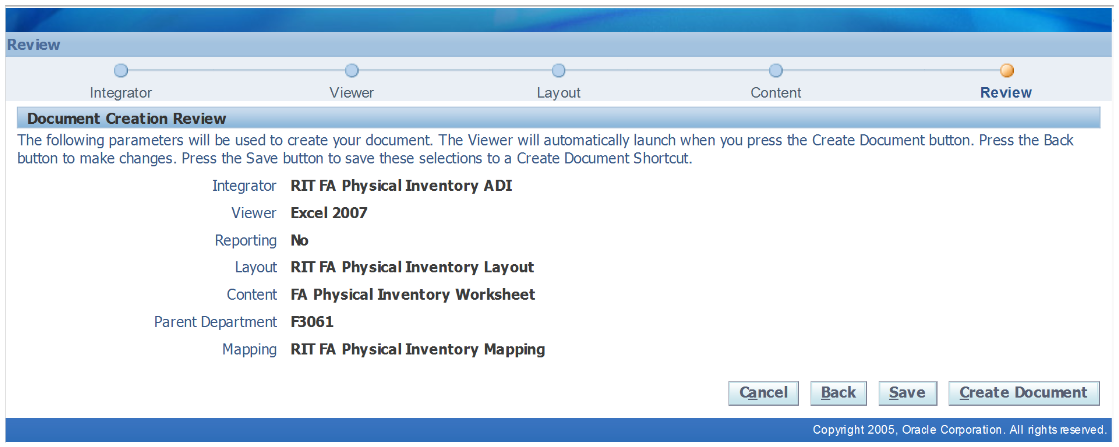
- Document Creation Review screen will appear
Document Creation Overview:
- Verify information is correct
- Click ‘create document’ once information is verified
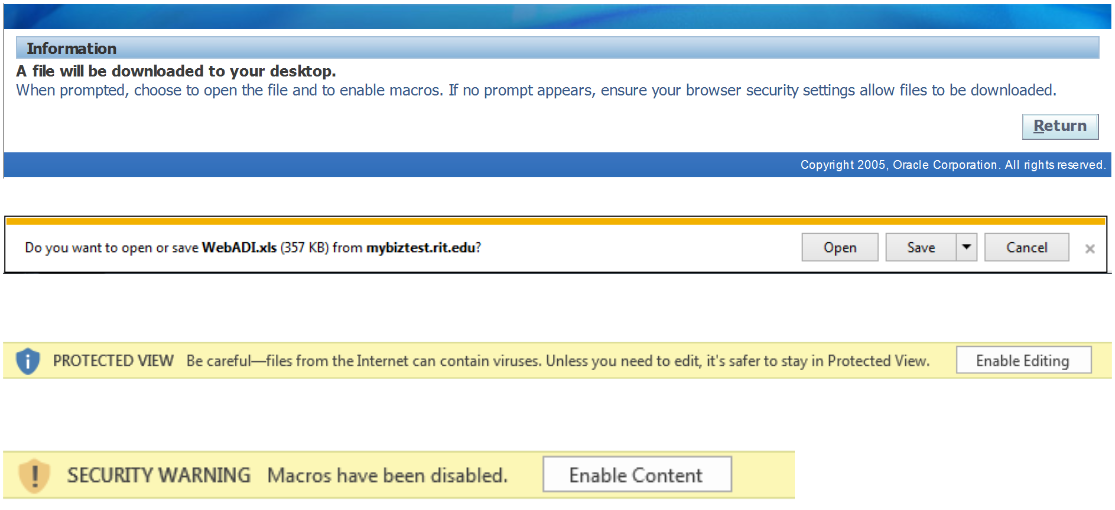
Create Document:
- A prompt will appear to open the Excel file
- Choose ‘open’ and enable editing and content macros in the Excel file
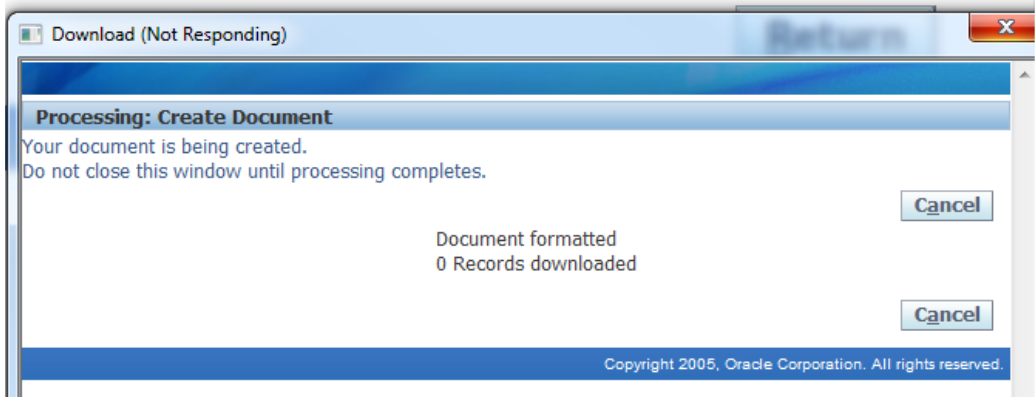
Processing message in Oracle once macros are enabled.
Processing message in Oracle download complete.

The Excel ADI template file will be similar to below:
