Uploading an Excel ADI Worksheet
Processes
Upon completion of physical inventory, the ADI worksheet will be uploaded to Oracle. Either the DIR or DIR2 will need to facilitate the process of the upload.
Inventory Completed During Oracle Sign-On Session
- Click the responsibility ‘RIT – FA Physical Inventory User’ on the Oracle Navigator window on the Oracle Navigator window.
- If window to create ADI template appears, click cancel and return back to navigation window.
- Using the open Excel ADI inventory worksheet, select ‘Add-Ins’ on tool bar, ‘Oracle’ drop down menu.
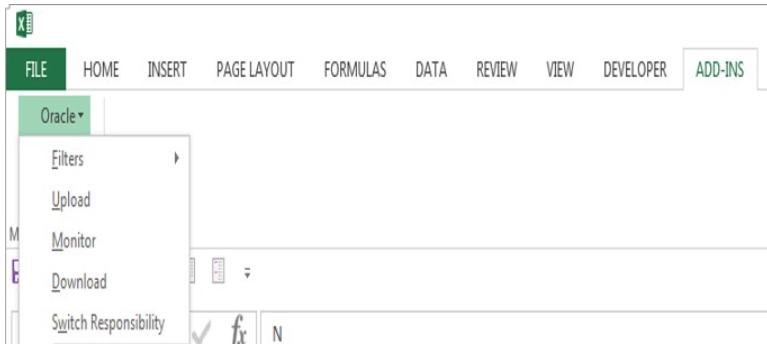
- Select ‘Switch Responsibility’ and choose ‘RIT FA Physical Inventory User’ responsibility.
- Select ‘Upload’
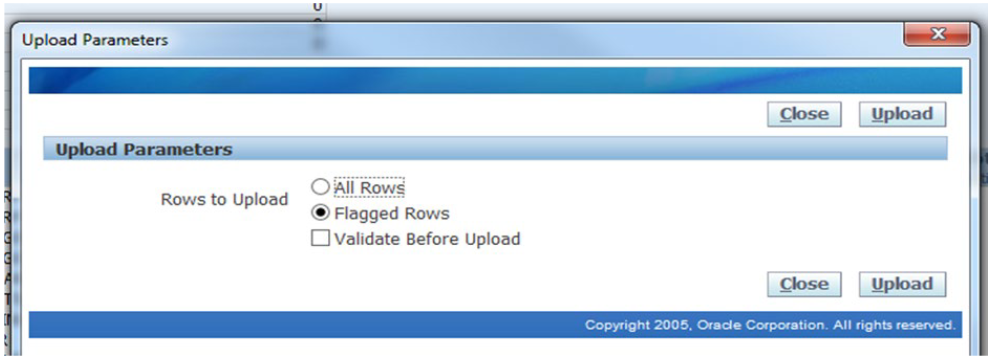
- Upload parameter window - Default: Flagged Rows, keep default value
- These fields are validated prior to upload:
- Building & Room
- ‘Inventoried’ field is marked ‘Y’
- Click ‘Upload’ as noted below:
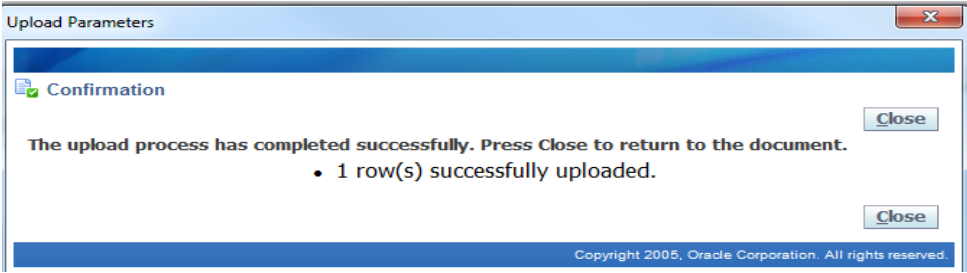
- Successful upload, you will see a message for the number of rows updated. Click on the Close Button.

- Green smiley faces will appear in ‘messages’ column of Excel ADI file for lines of successful upload.

- Continue to certification process.
Inventory Completed After Oracle Sign-On Session
This process is meant for uploading an Excel inventory template previously saved.
- Go to https://myinfo.rit.edu/
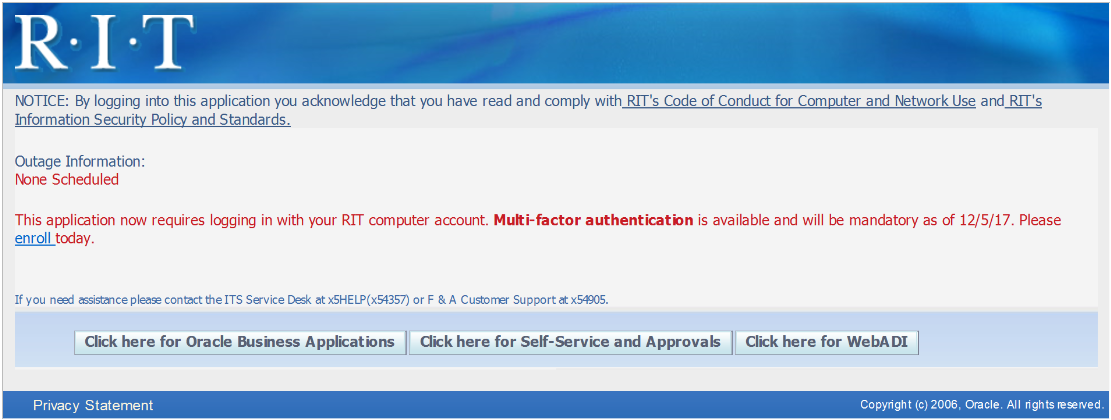
- Click on the “Click here for WebADI” button.
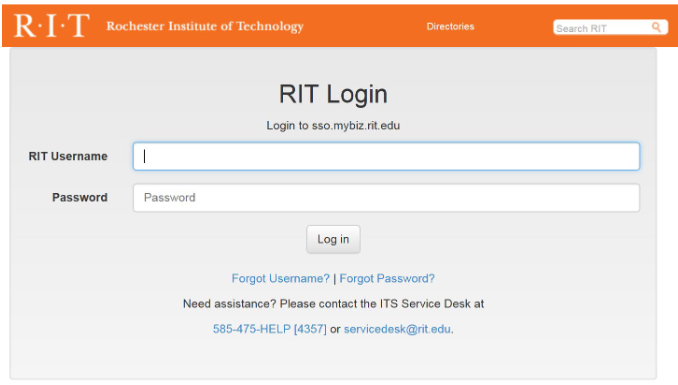
- Login using your RIT Computer Account user-id and password, (email account).
- Install the DUO Application on your phone.
- Choose an authentication method.
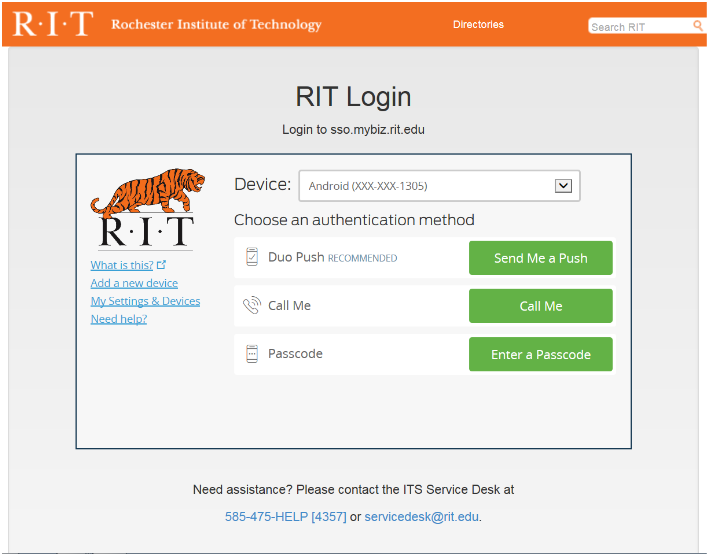
- Accept the “Push” for secure authentication on your phone.
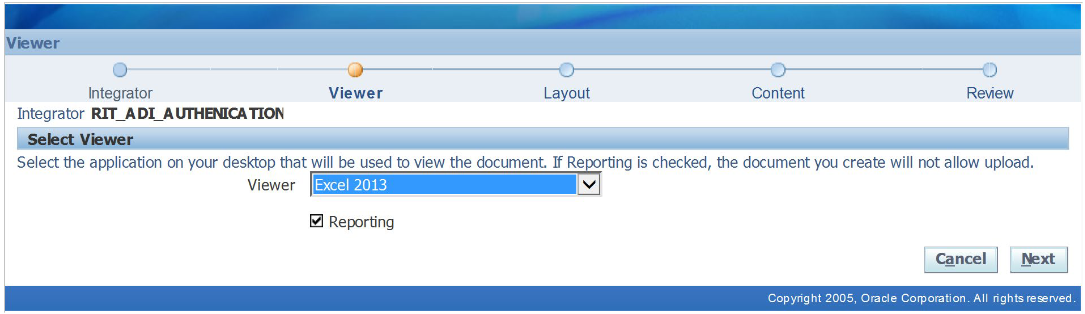
- A Viewer screen will open.
- Select your version of Excel from the drop down list.
- Leave the “Reporting” checkbox checked.
- Click the “Next” button.
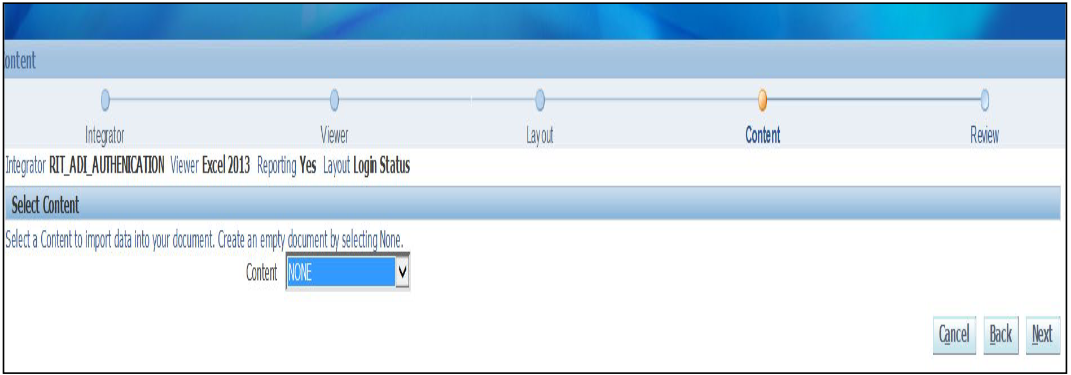
- Leave “None” in the “Content” field and click the “Next” button.
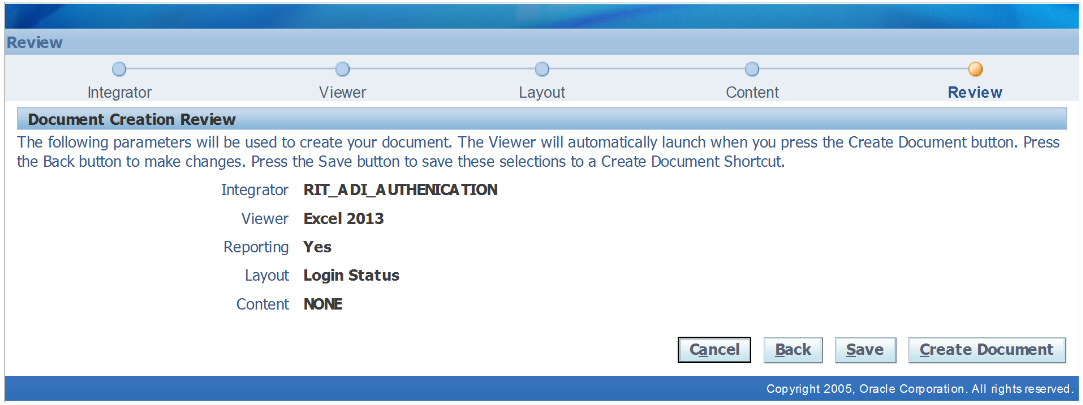
- Click the “Create Document” button.
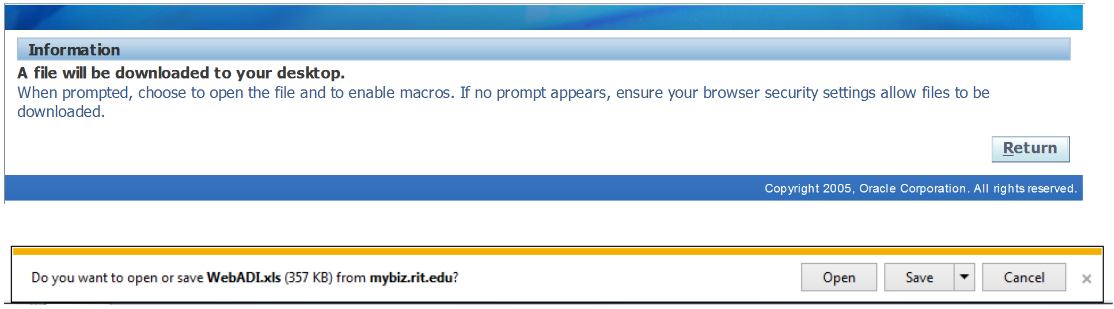
- An Information screen will open and you will be prompt to open or save the document. Click the “Open” button.
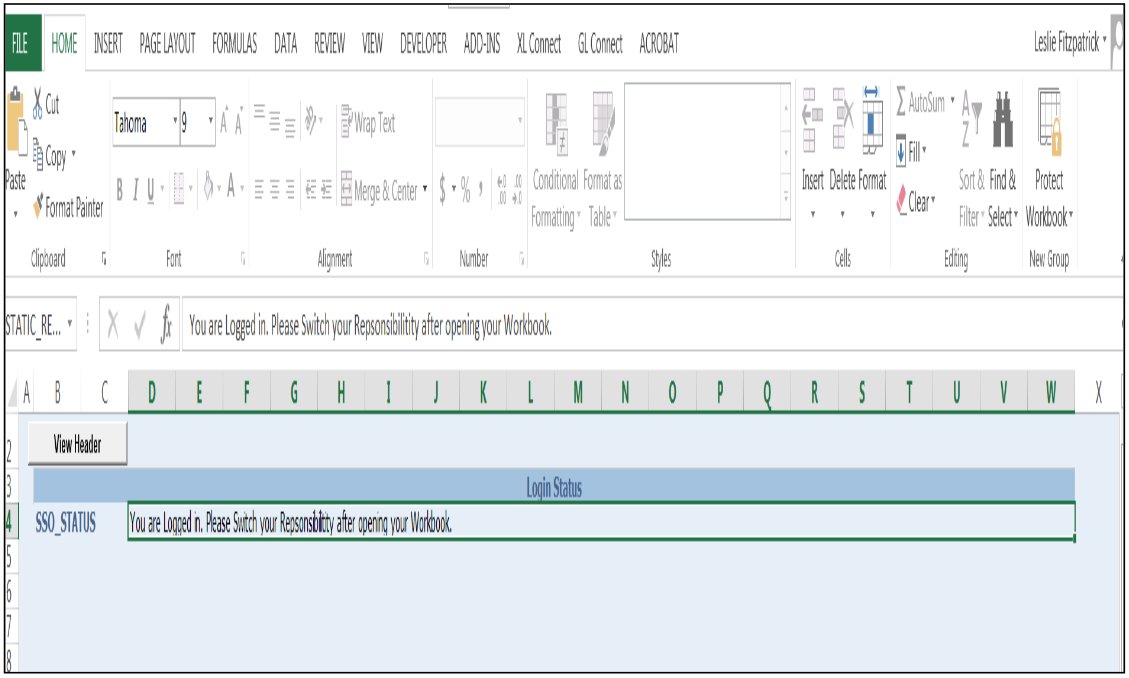
- Excel will open on your screen. Enable Editing.
- Enable Content.
- Click "Close".
- A blue template will open in Excel.
- Open the saved ADI inventory template that was created.
- Select a responsibility by clicking on the “ADD-INS” tab and selecting “Switch Responsibility” from the Oracle drop down list. ‘RIT – FA Physical Inventory User’

- Select ‘Add-Ins’ on tool bar, ‘Oracle’ drop down menu.
- Select ‘Upload’.
- Upload parameter window - Default: Flagged Rows, keep default value.
- These fields are validated prior to upload:
- Building & Room.
- 'Inventoried' field is marked 'Y'.
- Click 'upload' as noted below.

- Successful upload, you will see a message for the number of rows updated. Click on the Close Button.
- Green smiley faces will appear in ‘messages’ column of Excel ADI file for lines of successful upload.

- Continue to certification process.
Potential Errors When Uploading
- Oracle Error Messages:
- ORA-20003: Unable to determine Location. Please contact Admin.
- The specific building or room entered is not set up in Oracle.
- Look up valid building and room number using instructions in section ‘Using Excel ADI Worksheet’
- Lastly, contact Property Accounting if unable to find location in list of values.
- ORA-20003: You must mark Y for Inventoried.
- Change on inventory line, but ‘inventoried’ flag is not set to ‘Y’
- Look at inventory line with error on Excel and correct ‘inventoried’ field as applicable.
- ORA-20003: Unable to determine Location. Please contact Admin.