Professional Development Additional Resources

NTID Conference Rooms and Photos
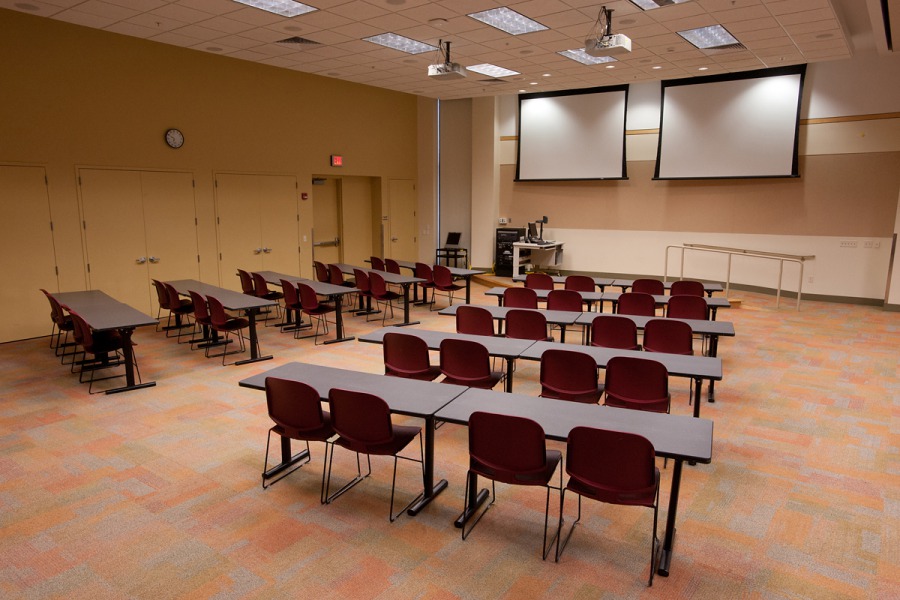
Capacity
- Seats 40 with tables; wall closed
- Seats 200 with wall open, stack chair set-up, no tables
Seating
- Movable chairs and tables
Writing
- None
Equipment
- Resident PC computer
- Dual projection
- Wireless mouse
- Wireless microphone
- Visualizer (document camera)
- Laptop connection
- Assistive Listening Device: Group FM (FM); Sound Field (SF)
- Low vision monitor: 19"
- Sound system
Other
- Sink and counter

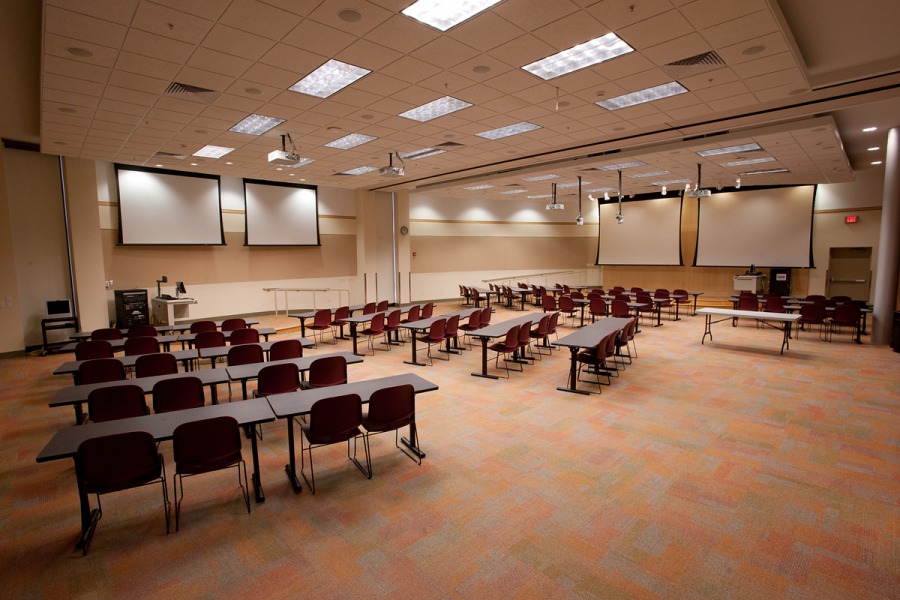
Capacity
- Seats 40 with tables; wall closed
- Seats 200 with wall open, stack chair set-up, no tables
Seating
- Movable chairs and tables
Writing
- None
Equipment
- Resident PC computer
- Dual projection
- Dual Projection
- Wireless mouse
- Wireless microphone
- Visualizer (document camera)
- Laptop connection
- Assistive Listening Device: Group FM (FM); Sound Field (SF)
- Sound system
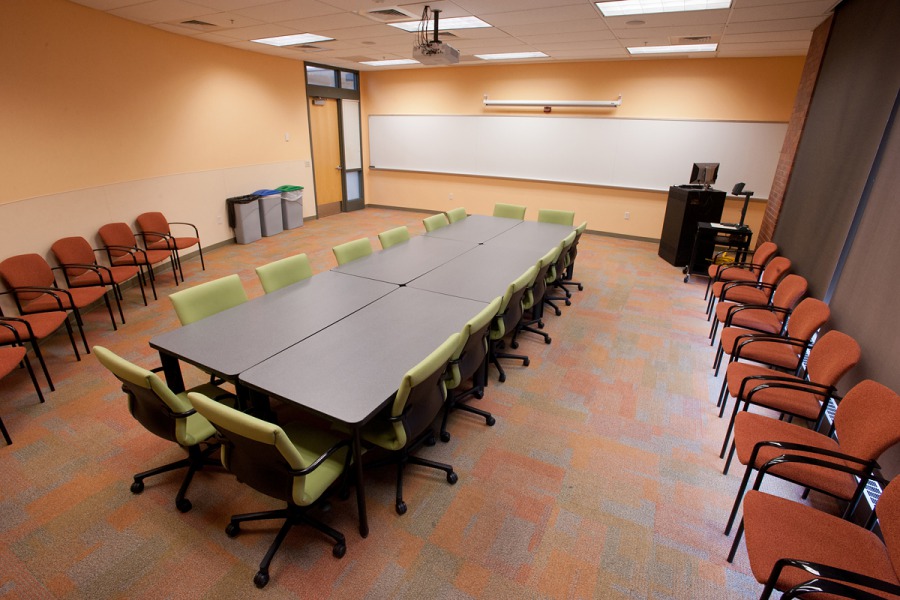
Capacity
- Seats 16 with tables
Seating
- Movable chairs and tables
Writing
- Whiteboard
Equipment
- Resident PC computer
- Laptop connection
- Wireless mouse
- Visualizer (document camera)
- Projection
- DVD/VHS
- Audio
- Assistive Listening Device: Sound Field (SF)
Other
- Room access requires RIT ID card swipe

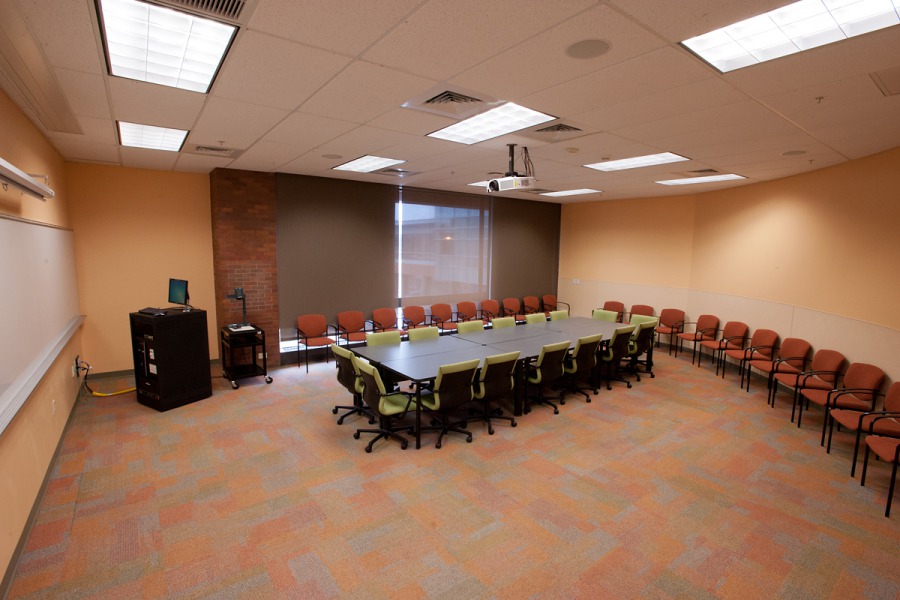
Capacity
- Seats 12 with tables
Seating
- Movable chairs and tables
Writing
- Whiteboard
Equipment
- Resident PC computer
- Projection
- Laptop connection
- Wireless mouse
- Visualizer (document camera)
- Audio
Other
- Room access requires RIT ID card swipe
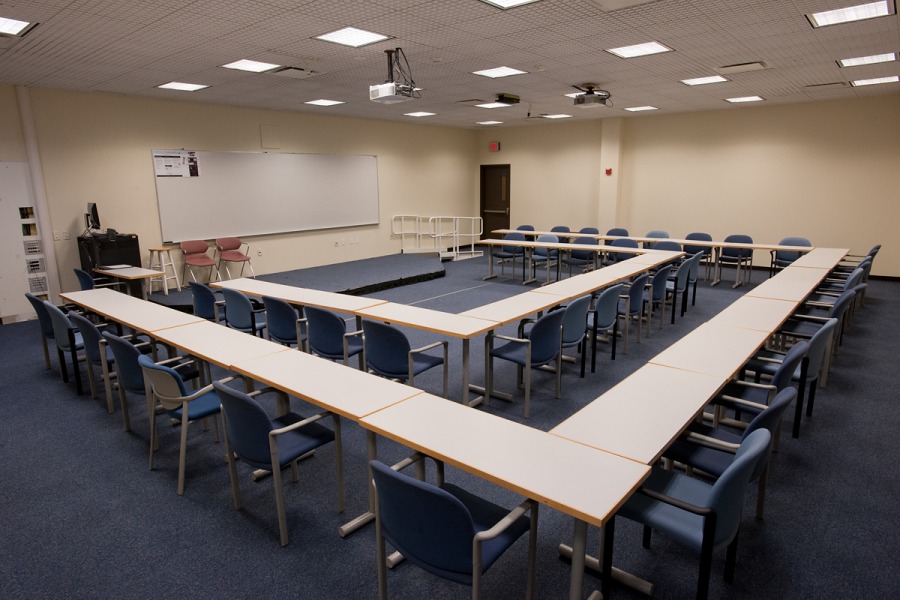
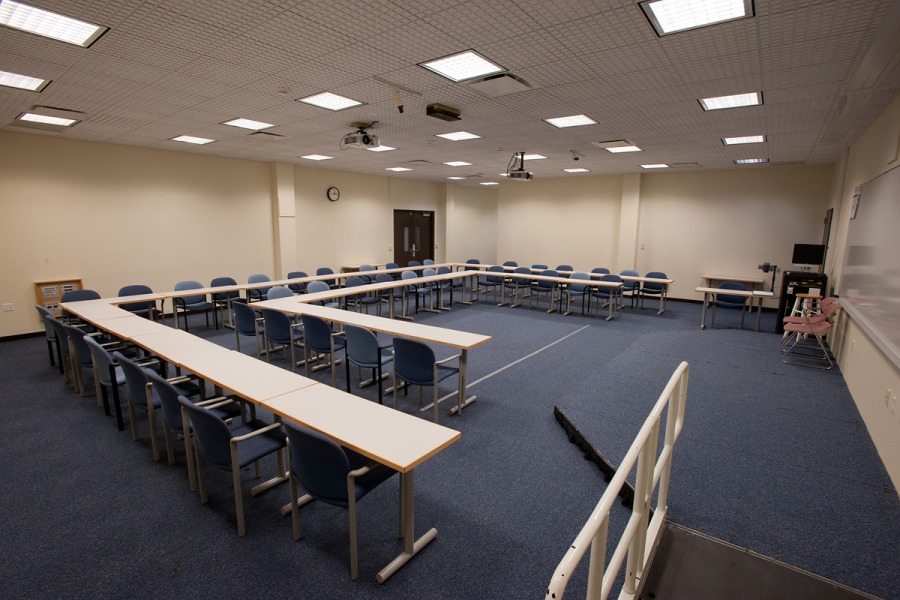
Capacity
- Seats 43 with tables
Seating
- Movable chairs and tables
Writing
- Whiteboard
Equipment
- Resident PC computer
- Laptop connection
- Wireless mouse
- Visualizer (document camera)
- Projection
- Audio
Other
- Room access requires RIT ID card swipe